
Introduction
Valorant is a popular first-person shooter game developed by Riot Games, but there may come a time when you need to uninstall it. Whether you’re freeing up space, experiencing issues, or simply moving on to another game, removing Valorant from your system requires a few steps beyond just deleting the game files. This guide will walk you through how to uninstall Valorant completely from your Windows PC.
Why Uninstall Valorant?
Before diving into the uninstall Valorant steps, here are some common reasons why players choose to remove Valorant from their system:
- Storage Concerns: Valorant takes up a significant amount of disk space, and uninstalling it can help free up storage for other applications.
- Game Performance Issues: If you’re facing bugs, crashes, or lag, a fresh installation after uninstalling might resolve these issues.
- Switching Games: If you’re no longer interested in playing Valorant, removing it helps declutter your system.
- Vanguard Concerns: Valorant comes with Vanguard, Riot Games’ anti-cheat software, which some users prefer not to keep running in the background.
How to Uninstall Valorant Completely
To ensure that Valorant and its anti-cheat system, Vanguard, are entirely removed from your computer, follow these steps carefully.
Step 1: Close Valorant and Vanguard
Before you start the uninstallation process, make sure Valorant and Riot Vanguard are not running.
- Press Ctrl + Shift + Esc to open Task Manager.
- Look for Valorant.exe and Vanguard.exe under the Processes tab.
- Right-click each process and select End Task.
Step 2: Uninstall Riot Vanguard
Riot Vanguard is required to run Valorant, and it needs to be removed separately.
- Press Win + R to open the Run dialog box.
- Type
appwiz.cpland press Enter to open the Programs and Features window. - Find Riot Vanguard in the list.
- Right-click it and select Uninstall.
- Follow the on-screen instructions to remove Vanguard.
- Restart your computer to complete the process.
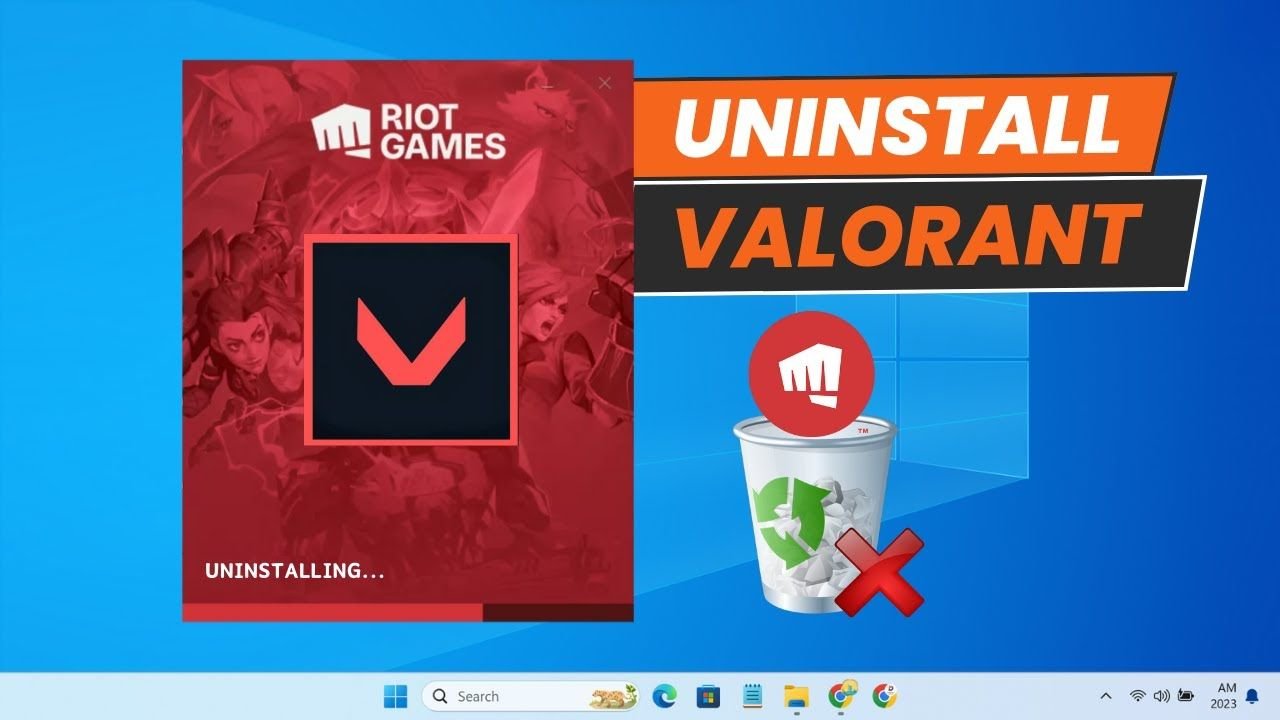
Step 3: Uninstall Valorant
Once Vanguard is removed, proceed to uninstall Valorant.
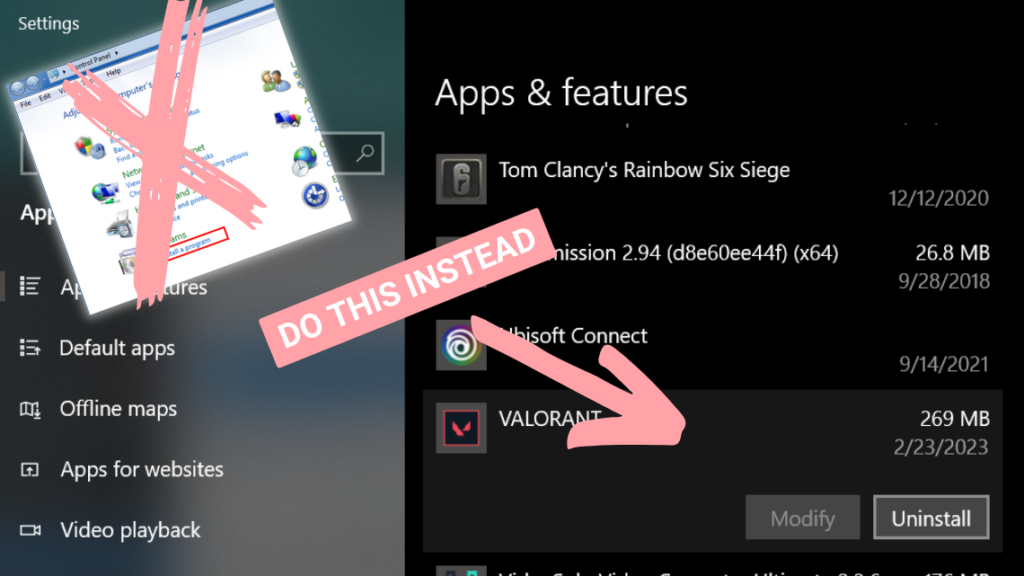
- Open the Control Panel by pressing Win + S, typing “Control Panel,” and selecting it.
- Click on Programs > Programs and Features.
- Locate Valorant in the list.
- Right-click it and select Uninstall.
- Follow the on-screen instructions to remove the game from your system.
Step 4: Delete Remaining Files
Even after uninstalling Valorant, some leftover files may remain on your system. To ensure a complete removal:
- Open File Explorer and navigate to the following directories:
C:\Program Files\Riot Games\C:\ProgramData\Riot Games\C:\Users\YourUsername\AppData\Local\Riot Games\C:\Users\YourUsername\AppData\Roaming\Riot Games\
- Delete any Valorant or Riot Games folders you find.
- Empty your Recycle Bin.
Step 5: Remove Valorant from the Registry (Optional)
For a thorough cleanup, you can remove Valorant-related registry entries:
⚠️ Be cautious when editing the registry. Deleting the wrong entries may cause system issues.
- Press Win + R, type
regedit, and press Enter. - Navigate to
HKEY_LOCAL_MACHINE\SOFTWARE\Riot Games. - Right-click the Riot Games folder and select Delete.
- Navigate to
HKEY_LOCAL_MACHINE\SOFTWARE\Microsoft\Windows\CurrentVersion\Uninstalland check for any Valorant-related entries. - Delete any remaining Valorant or Riot Games registry entries.
- Close the Registry Editor and restart your PC.
Common Issues When Uninstalling Valorant
If you encounter issues during the uninstallation process, here are some troubleshooting tips:
1. Valorant or Vanguard Won’t Uninstall
- Make sure you have administrator privileges on your PC.
- Restart your computer and try uninstalling again.
- Use Safe Mode (press
F8during startup) to remove the software.
2. “Uninstall Button is Grayed Out”
- Open Task Manager and force close Valorant and Vanguard.
- Restart your PC and attempt the uninstallation again.
3. Leftover Files Cannot Be Deleted
- Boot into Safe Mode and manually delete the remaining Valorant files.
- Use a third-party uninstaller like Revo Uninstaller to remove residual files.
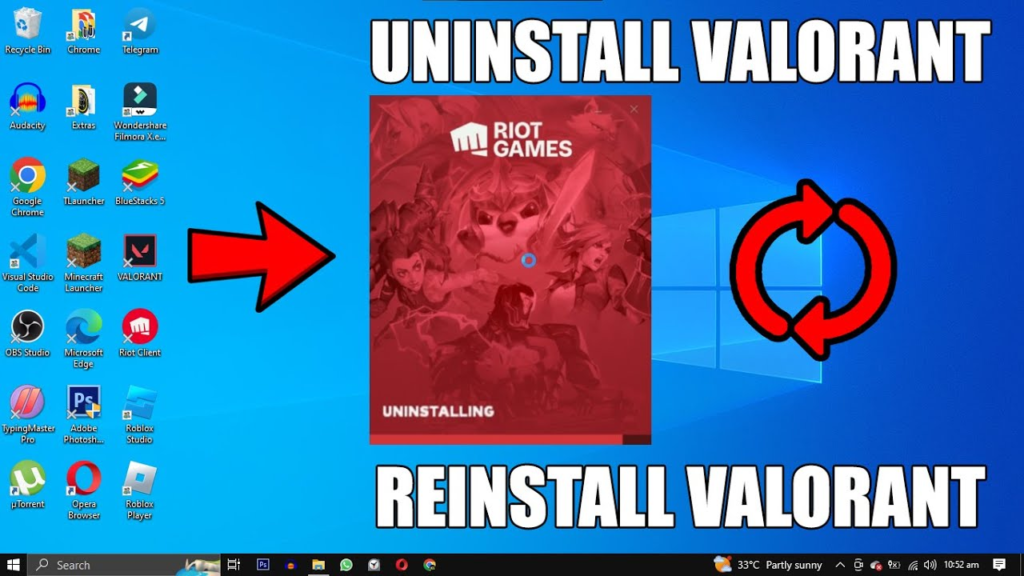
How to Reinstall Valorant After Uninstalling
If you decide to play Valorant again, reinstalling it is simple:
- Visit the official Riot Games website and download the Valorant installer.
- Run the installer and follow the on-screen instructions.
- Riot Vanguard will be automatically installed with the game.
- Restart your PC and launch Valorant.
Conclusion
Uninstalling Valorant requires more than just deleting the game files—it involves removing Riot Vanguard and cleaning up any residual files. By following this guide on how to uninstall Valorant, you can ensure a complete removal from your system. Whether you’re making space for another game or troubleshooting an issue, these steps will help you uninstall Valorant properly. If you ever want to reinstall the game, simply follow the reinstall instructions and get back into action!
Let us know if you encountered any issues during the process, and we’ll be happy to help!